
The ActiveDiscover Analysis tool works by having a Source and a Target system where you can compare a change in the Source, against the matching entry in the Target, and use the Target’s usage information to add detail and relevance.
Landscape
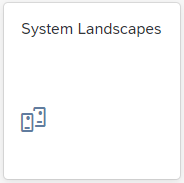
To add a new Landscape, click on the System Landscapes tile from the Home screen:
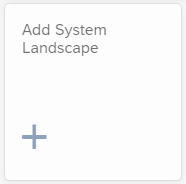
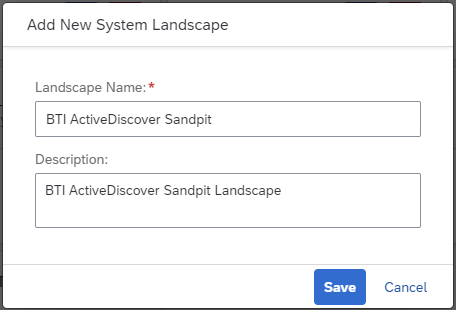
Click on the Add System Landscape tile and you can enter both a Landscape Name and a Description:
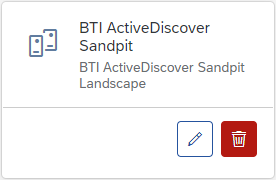
Once complete, click Save and you will see your new Landscape tile. Essentially this is the Framework against which you can register the Source and Target systems.
No processing has been triggered by setting up the Landscape Name and Description in this step.
Source System
Click on the Header of the Landscape’s card:

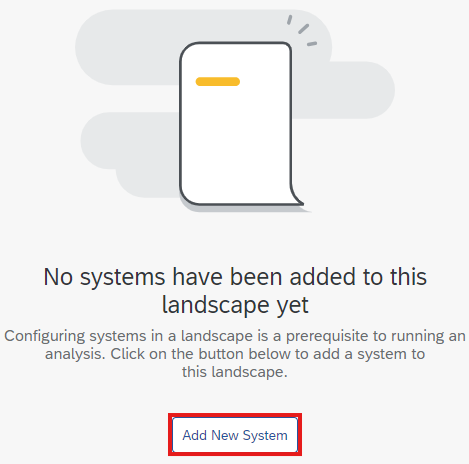
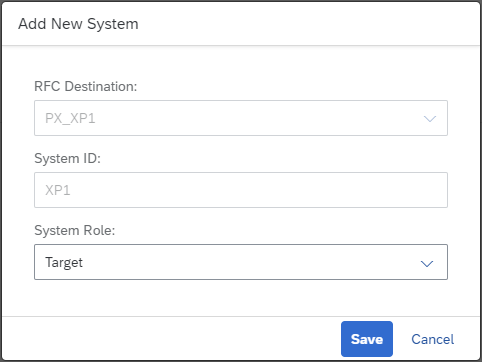
Add the Source System first by clicking on “Add New System”:
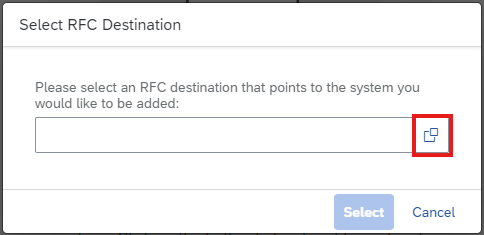
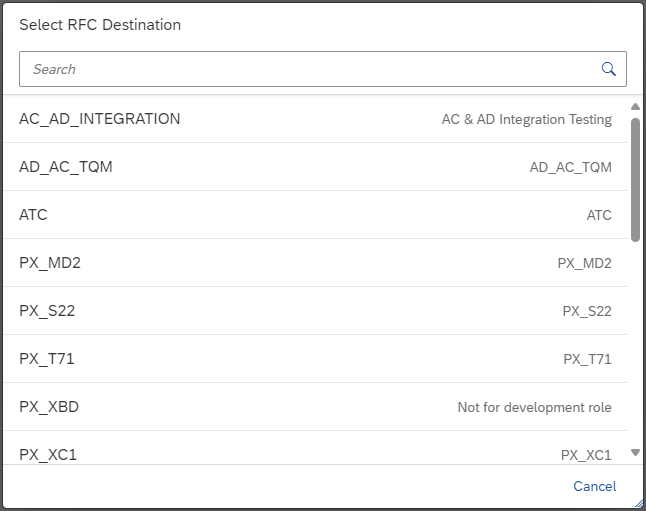
Select the RFC pointing to the Source System, which should have already been created:
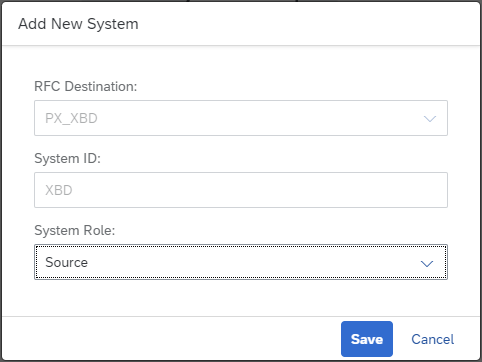
Then assign Source as the System Role:
When the Source has been defined and you have clicked Save, the link building job is triggered in the Source System via a background job. This is a one-time activity required the first time any system is added to a Landscape with the Source System Role, and can take several days to run in some situations to generate the initial dataset. It can be viewed / monitored in SM37 as can the job logs in the event of any errors. There is a second, periodic operation which is automatically scheduled to update the dataset.
Whilst this is running the new system will have status “In progress”:

You can click on the System Status label to see more information:
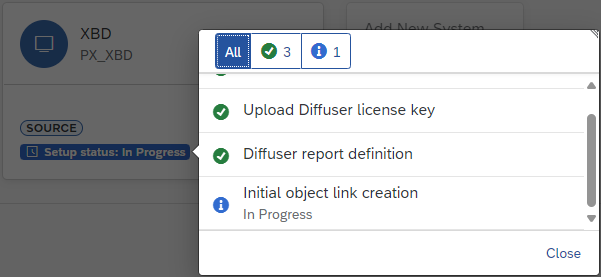
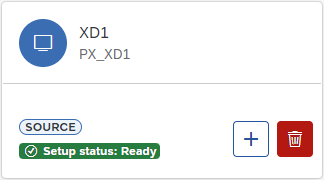
When complete, the System Status will change to “Ready”:
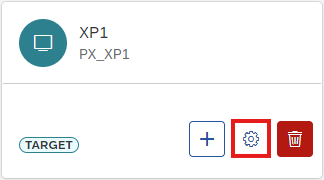
Target
Setting up the Target System is exactly the same as above, but there will be fewer setup steps automated in the background.
Follow the steps above, selecting “Target” as the System Role this time:
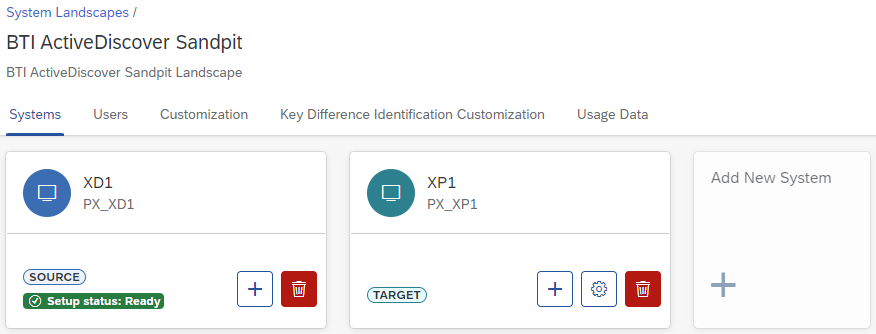
After clicking Save, the initial landscape setup is complete:
Additional Landscape Configuration
Continuous Collection of Usage Data
Clicking on the “Settings” icon on the Target System tile will bring up the option to activate Continuous Usage Data Collection:
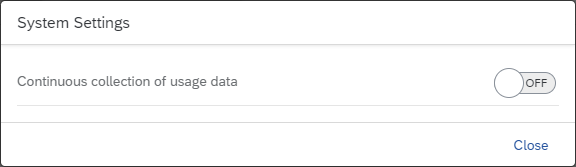
Activating this setting will trigger the regular periodic collection of ST03 usage data from the Target System, which is then stored in the Central System – this allows you to continue to use usage data for an impact analysis run after it has been removed from the Target System.
Critical Objects List
Clicking on on the “Customization” tab at the top of the Landscape page will bring up the “List of Critical Objects” customization options:

This allows you to specify a list of objects that are considered critical in this landscape – any impact to these objects will be highlighted in a dedicated section of the Impact Analysis Results Dashboard.
Key Difference Identification
Clicking on on the “Key Difference Identification Customization” tab at the top of the Landscape page will bring up the “Configure Check Severity Levels” customization options:

This allows you to customize how each key difference indication is classified in the Impact Analysis results.
Management of Usage Data
Clicking on on the “Usage Data” tab at the top of the Landscape page will bring up the details of the usage data that has been collected for this landscape:

This allows you to identify and remove any collected data that is no longer required, thus freeing up space in the Central System’s database.
Post your comment on this topic.